How to connect a washing machine
Connecting a washing machine on your own can save you time and money. Although it might seem intimidating at first, it’s a straightforward task if you follow a step-by-step approach. This comprehensive guide will walk you through the entire process, ensuring that you set up your washing machine correctly and safely.
 Some simple categories of washing machines:
Loading Type:
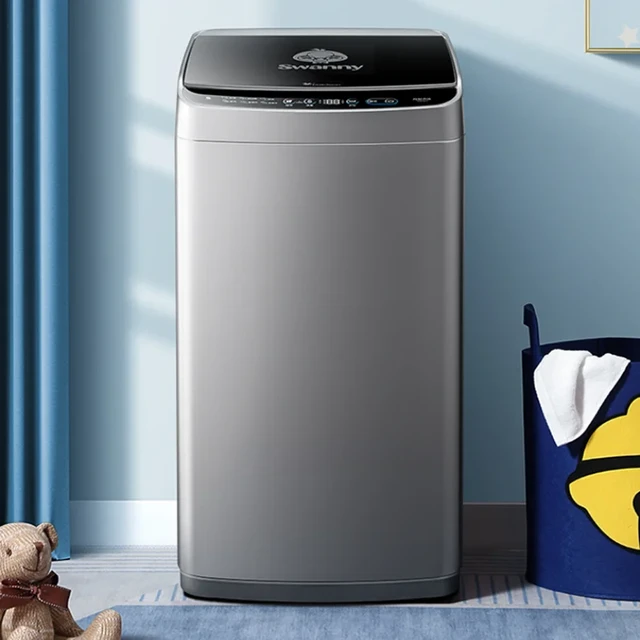
Top-Loading Washing Machines: Clothes are loaded into the machine from the top. These machines are user-friendly and often more affordable.
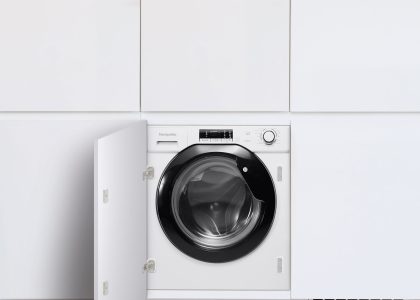
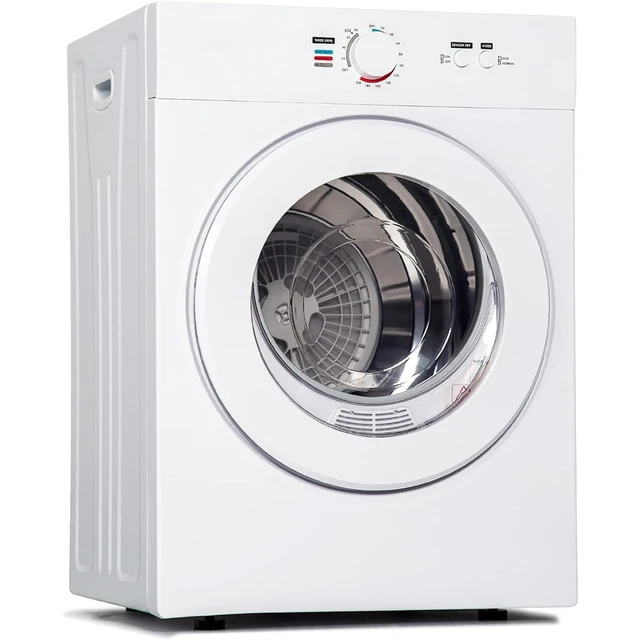
Front-Loading Washing Machines: Clothes are loaded into the machine from the front. Known for their energy efficiency and gentler wash cycles.
Functionality:
Just load your laundry, select the cycle, and the machine does the rest.
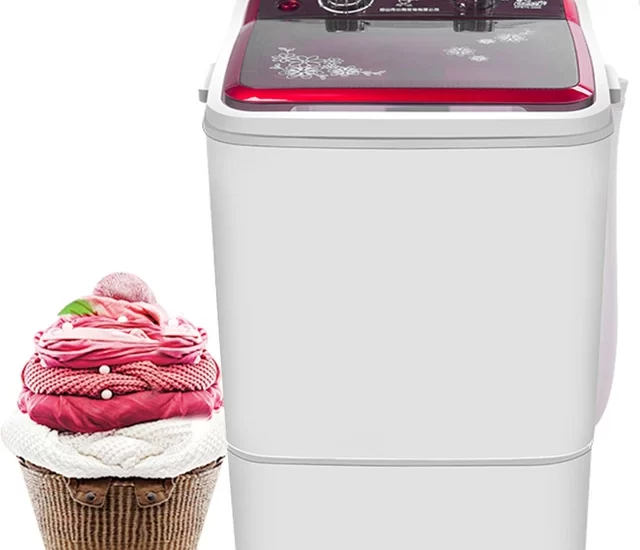
Semi-Automatic Washing Machines: Require manual intervention, usually involving transferring clothes from a washer tub to a dryer tub.
Load Capacity:
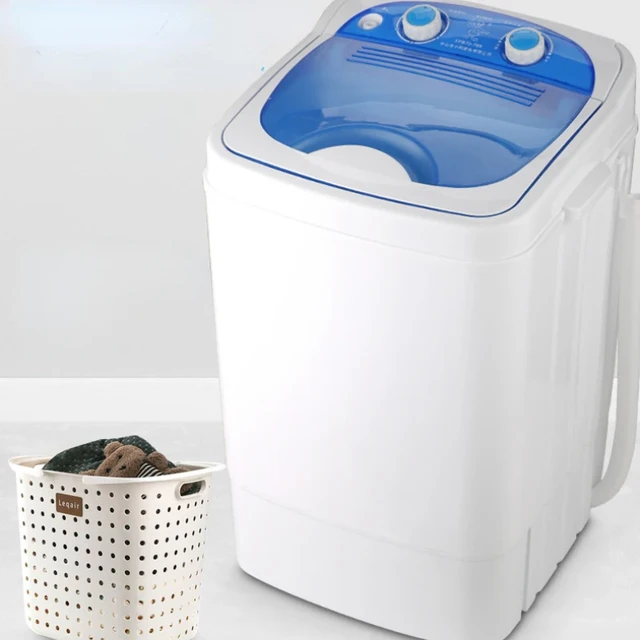
Compact Washing Machines: Smaller capacity machines ideal for singles or small households, often with a load capacity below 3.5 cubic feet.
Standard Size Washing Machines: Medium capacity, suitable for average households, typically between 3.5 to 5 cubic feet.
Large Capacity Washing Machines: Designed for large households or heavy-duty laundry needs, often exceeding 5 cubic feet.
By Special Features:
High-Efficiency (HE) Washing Machines: Use less water and energy, often come with special HE detergent requirements.
Smart Washing Machines: Equipped with features like Wi-Fi connectivity, app control, and advanced sensors for precise washing.
Portable Washing Machines: Small, compact units that can be moved easily and do not require a permanent water connection. Ideal for apartments or travel.
This simple classification can help you understand the different types of washing machines available and choose the one that best suits your needs.
Why Proper Installation Is Important
Before getting started, it’s important to understand the significance of proper installation:
Efficiency
Optimal Performance: Proper installation ensures that your washing machine performs efficiently, providing the best cleaning results.
Safety
Prevent Leaks: Correct setup minimizes the risk of water leaks, which can cause damage to your home.
Longevity
Prolonged Lifespan: Proper installation helps in maintaining the washing machine’s longevity, saving you from costly repairs or replacements.
Tools and Materials Needed
Before you begin, you’ll need to gather the following tools and materials:
- Adjustable wrench
- Screwdriver (Phillips and flathead)
- Pliers
- Level
- Bucket or towel (for catching water)
- Washing machine hoses (inlet and drain)
- Hose washers (if not included with hoses)
- Teflon tape
- Zip ties or hose clips (optional for securing drain hose)
 Step-by-Step Installation Guide
Follow these steps to connect your washing machine effectively:
Step 1: Unpack and Inspect the Washing Machine
Unbox Carefully: Unbox your washing machine and inspect it for any visible damage. Ensure you have all the necessary parts and accessories.
Remove Transit Bolts: Some washing machines come with transit bolts to protect the drum during shipping. Use a wrench to remove them, following the manufacturer’s instructions.
Step 2: Choose the Installation Location
Level Surface: Place the washing machine on a level surface to ensure stability and proper operation.
Accessibility: Choose a location near the water supply, drain, and electrical outlet. Ensure there’s adequate space for the machine’s dimensions and easy access for maintenance.
Step 3: Connect the Water Supply Hoses
Attach Hose Washers: Insert hose washers into the ends of the water inlet hoses to ensure a tight seal.
Connect to Machine: Attach one end of the hot and cold water inlet hoses to the corresponding water inlets on the back of the washing machine. Tighten the connections using pliers, but be careful not to overtighten.
Connect to Water Supply: Attach the other ends of the hoses to the hot and cold water faucets. Use Teflon tape on the faucet threads if needed to prevent leaks. Tighten the connections securely.
Check for Leaks: Turn on the water supply and check for any leaks. Tighten connections further if necessary.
Step 4: Connect the Drain Hose
Attach Drain Hose: Connect the drain hose to the drain outlet on the back of the washing machine. Secure it with a hose clamp if required.
Position Drain Hose: Place the other end of the drain hose into the standpipe, laundry sink, or wall-mounted drain. Ensure the hose is securely positioned to prevent it from dislodging during operation.
Height Requirement: Make sure the drain hose is at the appropriate height (usually between 24 and 40 inches from the floor) to prevent siphoning or backflow.
Step 5: Electrical Connection
Locate Outlet: Ensure the washing machine is near a grounded electrical outlet. Never use an extension cord.
Plug In: Plug the washing machine into the outlet.
 Step 6: Level the Washing Machine
Check Level: Use a level to check if the washing machine is balanced. An unbalanced machine can cause excessive vibrations and noise.
Adjust Feet: If the machine is not level, adjust the leveling feet by turning them accordingly. Lock the feet in place once the machine is leveled.
Step 7: Test the Washing Machine
Run a Test Cycle: Run an empty test cycle to ensure everything is connected correctly. Listen for unusual noises and check for any leaks.
Check Operation: Ensure the machine fills with water, agitates, drains, and spins correctly. Monitor the entire cycle for any issues.
Maintenance Tips for Your Washing Machine
Once your washing machine is connected and working, regular maintenance is essential to keep it running smoothly:
Regular Cleaning
Clean the Drum: Run a cleaning cycle with an empty drum and a washing machine cleaner or a mixture of white vinegar and baking soda monthly.
Wipe the Gasket: Regularly wipe the door gasket to remove any debris and prevent mold growth.
Clean the Lint Filter: If your machine has a lint filter, clean it regularly to maintain optimal performance.
Inspect Hoses
Check for Wear: Periodically inspect the inlet and drain hoses for wear and tear. Replace any damaged hoses to prevent leaks.
Secure Connections: Ensure that all hose connections remain tight and secure.
Leave Door Open
Air Circulation: After each wash, leave the door open to allow air circulation and prevent mold and mildew buildup in the drum.
Troubleshooting Common Issues
If you encounter any problems, here are some common issues and their solutions:
Water Leaks
Check Connections: Ensure all hose connections are tight and secure.
Inspect Hoses: Check hoses for any signs of damage or cracks.
Machine Not Filling with Water
Water Supply: Ensure the water faucets are fully turned on.
Hose Kinks: Check for kinks in the inlet hoses that might restrict water flow.
Excessive Vibrations
Level Machine: Ensure the washing machine is level.
Redistribute Load: Make sure the laundry load is balanced and not clustered on one side.
 Environmental Considerations
Taking care of your washing machine also involves being mindful of its environmental impact:
Energy Efficiency
Efficient Settings: Use energy-efficient settings on your washing machine to save water and energy.
Full Loads: Try to run full loads to maximize the efficiency of each wash cycle.
Proper Disposal
Eco-friendly Disposal: When it’s time to dispose of your old washing machine, consider recycling or donating it to minimize environmental impact.
When to Call a Professional
While installing a washing machine is generally straightforward, there are situations where it’s best to call a professional:
Complex Plumbing Work
Installation Needed: If your installation location does not have existing plumbing for a washing machine, you’ll need a professional to install the water supply and drainage system.
Electrical Concerns
Outlet Issues: If you encounter any issues with the electrical outlet or if an outlet needs to be installed or repaired, call a licensed electrician.
Frequent Leaks or Issues
Persistent Problems: If you experience persistent leaks or operational issues that you cannot resolve, it’s time to call a professional technician to diagnose and fix the problem.
 Conclusion
How to connect a washing machine
By following this detailed guide, you can complete the installation efficiently and safely. Remember to gather all necessary tools and materials beforehand, and follow each step carefully.
Proper installation and regular maintenance will ensure your washing machine operates at its best, providing you with clean clothes and peace of mind. If you encounter any issues beyond your expertise, don’t hesitate to call a professional for assistance.
With the right approach and precautions, you’ll find that installing and maintaining a washing machine can be a manageable and rewarding task. Happy washing!