Preparing for Dishwasher Installation
How long does it take to install a dishwasher? Before diving into the installation process, preparation is crucial. Proper preparation ensures a smoother installation, preventing unexpected issues and reducing the time needed.
Assessing Your Space
Firstly, measure the area where you plan to install the dishwasher. Ensure it fits the dishwasher’s dimensions with extra space for connections. Check for accessibility to water supply lines, power outlets, and drainage systems. It’s important to ensure the space is level so your dishwasher can operate efficiently.
Gathering Necessary Tools and Materials
You will need various tools and materials to install a dishwasher successfully. A typical list includes a screwdriver, adjustable wrench, measuring tape, and a level. Additionally, ensure you have the specific materials like plumbing fittings, an electrical wiring kit, and maybe a new water supply line, depending on your dishwasher model. Gather these tools and materials before starting to save time during the installation process.
Removal of the Old Dishwasher
The next step in the dishwasher installation timeline involves removing the old unit. This stage is critical to prepare for your new dishwasher. Pay close attention to the process to avoid water spills and electrical hazards.
Disconnecting Water and Power
Ensure safety first by shutting off the power to the dishwasher at the circuit breaker. Check the power is off using a voltage tester. Next, turn off the water supply to prevent leaks during the removal. With tools at hand, disconnect the water line using an adjustable wrench. Be prepared with a towel or a small container to catch any residual water. Lastly, unplug the dishwasher or disconnect the power cables if hardwired.
Extracting the Dishwasher Safely
With the water and power off, it’s time to extract the dishwasher. Start by removing any screws attaching the dishwasher to the countertop or adjacent cabinets. Slowly slide out the dishwasher, being mindful not to scratch your flooring. If the unit feels stuck, check for any additional securing hardware. Keep the path clear as you move the dishwasher out of its space. Once removed, it’s also a good time to clean the area before installing the new dishwasher.
Installing the New Dishwasher
Once the old dishwasher is out, it’s time to bring in the new one. Care and precision are key to ensure smooth operation and prevent future issues.
Positioning and Leveling
Start by sliding the new dishwasher into the space. Make sure it’s aligned with the cabinetry and counter. Use a level to confirm that the machine is even from front to back and side to side. Adjust the dishwasher feet if needed to achieve a perfect balance.
Connecting Water Lines and Wiring
Next, connect the water supply line using the wrench. Make sure the connection is secure to avoid leaks. Then, connect the electrical wiring according to the manufacturer’s instructions. Always double-check to ensure proper and safe connections.
Securing the Unit in Place
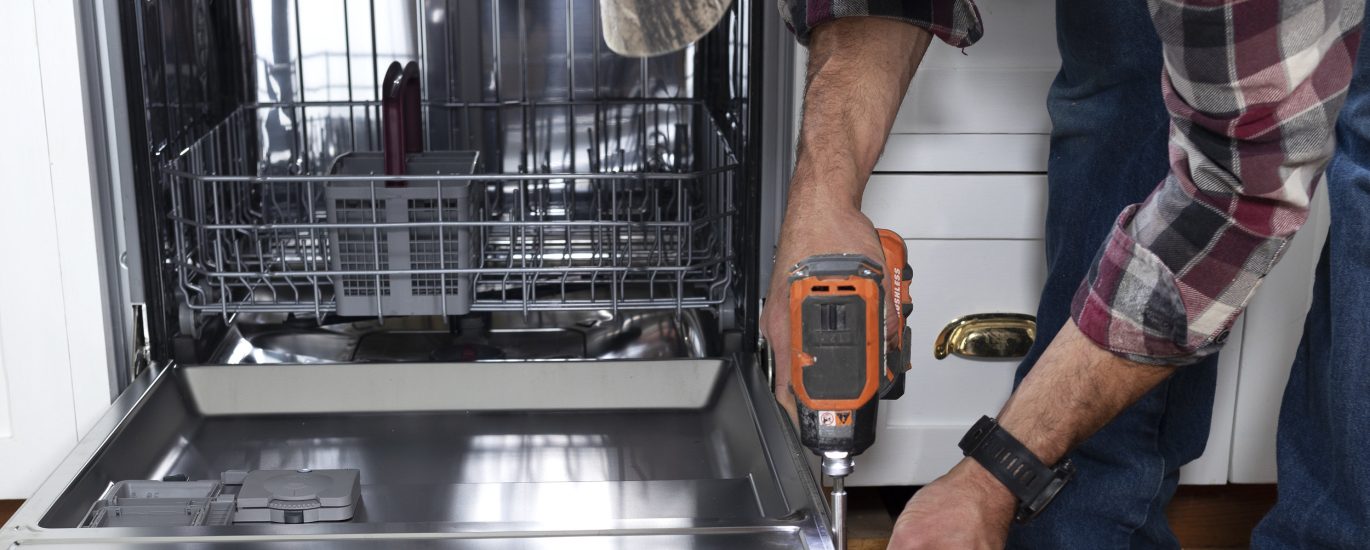
Finally, secure your dishwasher to the countertop or cabinets with screws. This prevents the dishwasher from tipping when the door is open. Once screwed in, make sure the dishwasher door opens and closes smoothly without obstruction.
During the installation process, keep the keywords ‘how long does it take to install a dishwasher’ in mind. By following these steps systematically, your new dishwasher should be ready for the post-installation checks. Remember, accuracy takes priority over speed to ensure a safe and functional installation.
Post-Installation Checks
After installing the new dishwasher, it is crucial to perform post-installation checks. These steps ensure that your dishwasher operates correctly and safely. Keep the keyword ‘how long does it take to install a dishwasher’ in mind as these checks are part of the installation timeline.
Testing the Dishwasher Functions
After securing the unit, test the dishwasher functions. Run a short cycle without any dishes. Watch the controls and listen for any unusual sounds. Make sure the cycle completes without errors. Confirm that the detergent dispenser opens, and the spray arms move freely.
Checking for Leaks and Noises
Examine all connections for leaks. Check under the sink where the water line and drain hose connect. Look for drips and feel for moisture. Listen for strange noises when the dishwasher operates. Gurgling might indicate a drain issue, while thumping could signal a water line problem. Fix any issues before using the dishwasher regularly.
Clean Up and Finishing Touches
After the dishwasher installation, clean up is essential to wrap up the project properly.
Disposing of Old Equipment
Remove the old dishwasher responsibly. Most cities offer appliance recycling programs. Check local regulations for disposal or recycling options. Avoid leaving the old unit in your home, as it can take up space unnecessarily.
Tidying Up the Installation Area
Clear all tools and materials from the installation area. Sweep the floor to remove any debris. Wipe down surfaces to remove fingerprints or dust from the new installation. Put all tools back in their rightful places to avoid misplacing them. This step will ensure a neat and safe environment in your kitchen.
Understanding Installation Time Factors
While preparing for and executing a dishwasher installation, keep in mind the various factors that impact ‘how long does it take to install a dishwasher’. The installation timeline can vary greatly depending on a few key components.
Dishwasher Types and Features
Different types of dishwashers come with varying features, which can affect the installation time. A standard built-in model may require a straightforward setup, while a high-end dishwasher with advanced features might need extra attention during installation. Features like water softeners, custom panels, and smart technology integrations require additional steps, potentially extending the installation duration.
Experience Level of the Installer
An experienced installer can significantly cut down installation time. Familiarity with the tools, materials, and installation steps can streamline the process. However, for someone with little to no experience, it may take longer as they would proceed with caution, and possibly learn as they go, adding time to the overall process.
Potential Complications Impacting Duration
Unexpected issues like irregular water line fittings, incompatible power supplies or unforeseen space constraints can arise. These complications can prolong the installation period as they require on-the-spot troubleshooting or even a trip to the hardware store for additional parts. Ensuring that all measurements and connections are double-checked beforehand can mitigate these potential delays.
Professional Installation vs. DIY
Choosing whether to install a dishwasher yourself or hire a professional is a crucial decision. Both options have pros and cons, which we’ll explore below.
When to Hire a Professional
You might consider hiring a professional if:
- You’re short on time and need a quick installation.
- You lack the confidence or experience with plumbing and electrical work.
- The dishwasher installation requires special modifications to your kitchen.
- Your new dishwasher has complex features like smart technology integrations.
Hiring a professional can ensure a seamless installation and help avoid future issues.
Tips for a Successful DIY Installation
If you decide on a DIY installation, here are some tips to guide you:
- Read the manufacturer’s guide thoroughly before starting.
- Check that you have all necessary tools and parts as listed above.
- Allocate enough time to work without rush for a careful setup.
- Follow safety protocols, like shutting off water and power before starting.
- Double-check all connections to prevent leaks and electrical problems.
- Don’t hesitate to consult online tutorials or help forums if needed.
By taking a methodical approach, even first-time installers can succeed in safely setting up their dishwashers.


