Preparing for Installation
How to install whirlpool dishwasher? Before we dive into the nitty-gritty of how to install a Whirlpool dishwasher, let’s prepare for the task ahead. Good preparation is key to a seamless and safe installation. You’ll be dealing with plumbing, electrical connections, and some heavy lifting.
Tools and Materials Needed
How to install whirlpool dishwasher? To get started, gather all the necessary tools and materials first. You’ll need:
- A screwdriver set
- Adjustable pliers
- A level
- A drill with bits
- Measuring tape
- A dishwasher installation kit that includes a power cord, water supply line, and fittings
- Wire strippers
- Wire nuts for electrical connections
- Teflon tape
Having everything on hand will help the installation process go smoothly without the need to stop and search for tools.
Safety Considerations
Safety must always come first. Make sure you take the following precautions:
- Turn off the power at the circuit breaker and the water supply valve. This prevents electric shock and water spills.
- Wear safety glasses and gloves to protect your eyes and hands.
- Keep your workspace clear of any clutter and make sure there’s enough light.
- If you’re not confident in your electrical skills, consider hiring an electrician for that part.
Understanding these safety measures beforehand will help prevent accidents and ensure a safe setup for your new Whirlpool dishwasher.
Measuring and Space Planning
How to install whirlpool dishwasher? Before installing your new Whirlpool dishwasher, proper measuring and space planning are crucial. This ensures the appliance fits snugly and functions efficiently in your kitchen setup.
Ensuring Fit within Cabinetry
First, measure the dimensions of the available cabinetry space where you plan to install the dishwasher. Compare these measurements with those of the dishwasher to confirm it will fit. Remember, adequate airflow and room for door opening are essential. Leave at least an inch of extra space around the dishwasher for ease of installation.
Aligning with Countertop and Sink
Next, assess how the dishwasher aligns with your current countertop and sink. The dishwasher should be located as close as possible to the sink to simplify the plumbing and drainage processes. Ensure the top of the dishwasher is level with the countertop to achieve a seamless look. Using a level, check that the surface where you intend to place the dishwasher is flat and even to avoid any operational issues.
Removing the Old Dishwasher
Before putting in your new Whirlpool dishwasher, it’s crucial to safely remove the old one.
Shutting Off the Power and Water
Firstly, safety is paramount. Ensure that you shut off the power at your home’s circuit breaker and the water supply valve to the dishwasher. This step prevents electric shocks and unplanned water spills during the removal process.
Disconnecting and Removing the Existing Unit
After the power and water are off, carefully disconnect the previous dishwasher. Start by removing the screws that hold the dishwasher in place under the countertop. Then, gently slide out the old unit, taking care not to damage the surrounding cabinetry or flooring. Detach the drain hose from the sink or garbage disposal, and disconnect the water supply line using your adjustable pliers. Lastly, remove the electrical connections, making sure to remember how they were configured for reference when you install the new Whirlpool dishwasher. With careful maneuvering, you can now fully remove the old dishwasher from its space.
Installing the New Whirlpool Dishwasher
Now that you have prepped the area and removed the old dishwasher, it’s time for the exciting part – installing your new Whirlpool dishwasher.
Attaching the Drain Hose
Start by connecting the drain hose. Find the hose outlet on your dishwasher. Attach the drain hose securely using a clamp. Ensure it has no kinks, to prevent water blockages. Run the other end to the sink drain or garbage disposal. Make sure the route is clear and the hose slopes upward before going down.
Securing Water Supply Line
Next, take the water supply line from your installation kit. Connect one end to the dishwasher’s water valve. Use Teflon tape on the threads for a tight seal. Secure the other end to the water supply valve under your sink. Tighten connections with pliers but do not overtighten.
Wiring the Electrical Connections
Electrical safety is vital. Double-check that the power is off at the circuit breaker. Now, connect the wires. Match the wire colors and use wire nuts to secure them. Wrap the connection with electrical tape. Lastly, attach the ground wire to the dishwasher’s green ground screw. Tuck the wires neatly into the box.
You have now laid the groundwork for a functioning dishwasher. Remember to keep your instructions handy and always prioritize safety.
Positioning and Leveling the Dishwasher
Once you’ve made all the necessary connections, positioning your Whirlpool dishwasher correctly is the next crucial step. Proper placement ensures optimal performance and avoids future complications.
Sliding the Unit Into Place
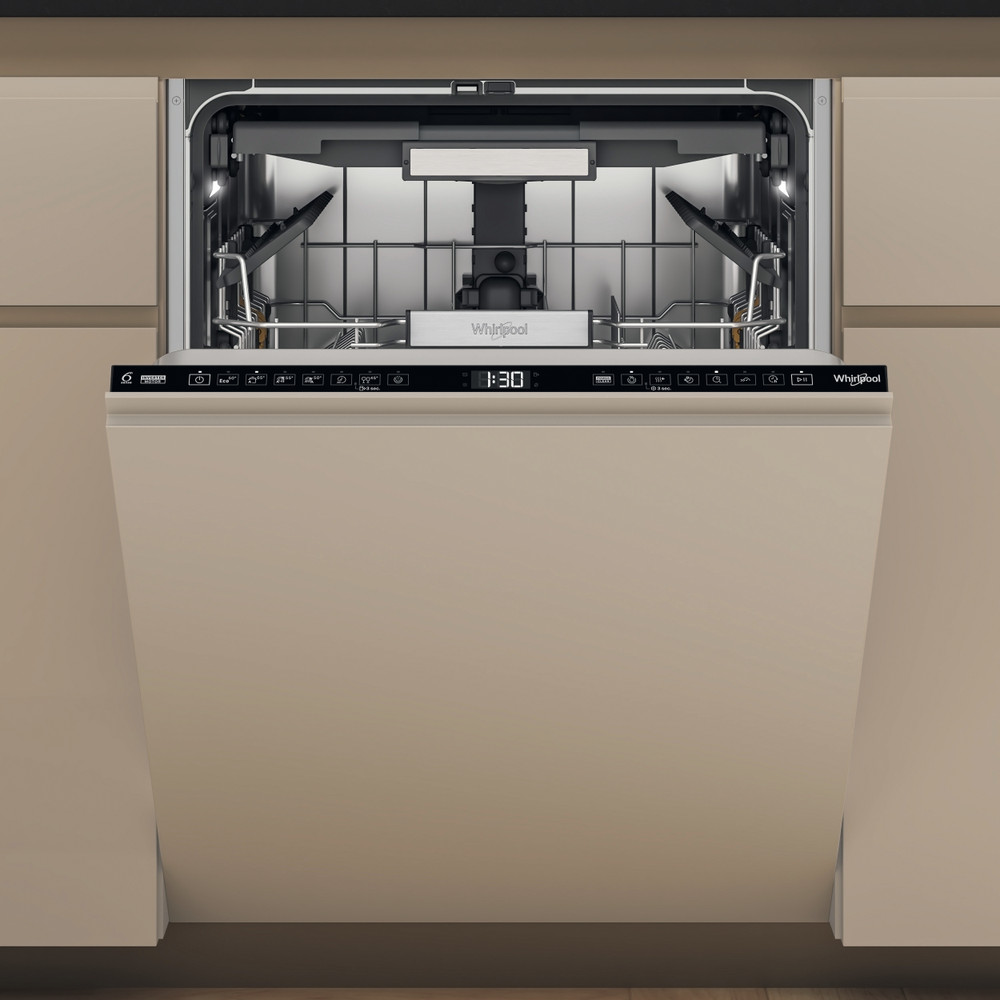
Carefully slide the dishwasher into the designated space. Make sure not to snag or kink any connected hoses and cables. Align the front of the dishwasher with the cabinetry. This will give a clean and integrated look with your kitchen units.
Adjusting Feet for Level and Height
After placing the dishwasher in its final position, it’s important to ensure it’s perfectly level. An unbalanced dishwasher can lead to poor dishwashing results and noisy operations. Here’s how to adjust it:
- Use a level tool on top of the dishwasher to check if it’s even.
- If the dishwasher tilts, adjust the feet at the bottom by twisting them. Some models have front and rear adjustable feet.
- Continue checking and adjusting until the appliance is stable and level.
By carefully leveling the dishwasher, you ensure effective cleaning and efficient operation. Keep a check on all sides for any gaps or misalignments.
Finalizing the Installation
After positioning and leveling, finalize your Whirlpool dishwasher installation with these steps.
Fastening the Dishwasher to Cabinetry
Secure the dishwasher to prevent movement and vibration during its operation. Locate the mounting brackets on the top of the dishwasher. Position them against the underside of your countertop. Use screws from your installation kit to fasten the brackets. If the countertop is granite or another hard material, use adhesives or specialized fasteners.
Checking for Leaks and Functionality
Now, check for any leaks in your connections:
- Turn on the water supply and power.
- Run a short wash cycle while observing the hose connections.
- Look for drips under the sink where the supply line connects.
- Check the drain hose connection at the sink or garbage disposal.
If there are no leaks, test the dishwasher’s functionality:
- Listen for unusual noises.
- Ensure it fills, washes, drains, and dries as expected.
Address any issues immediately to ensure your dishwasher operates effectively.
Tips for First-Time Use
Before you start using your newly installed Whirlpool dishwasher, it’s important to take some preliminary steps to ensure everything is working properly.
Running a Test Cycle
After installation, run a test cycle without any dishes. This checks that the machine fills, washes, drains, and dries as it should. It’s key to make sure there are no leaks and that all parts function well. If you hear any strange sounds or see error messages, consult the manual or seek professional advice.
Loading Dishes Effectively
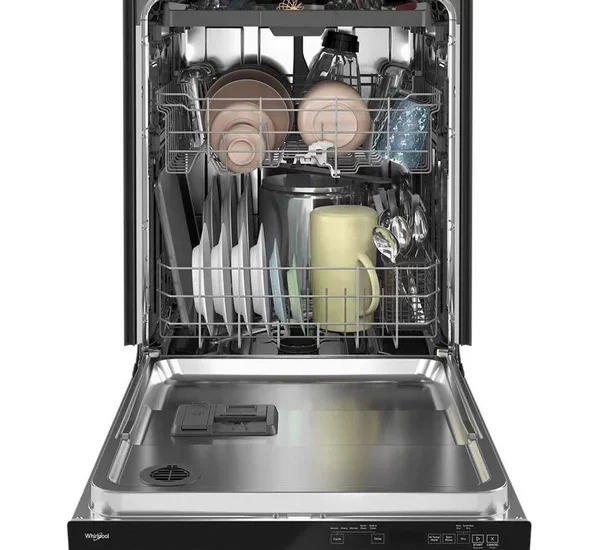
Loading dishes correctly increases cleaning efficiency. Place larger items on the bottom rack, facing the center. Put cups, bowls, and less soiled items on the top rack. Avoid overloading and ensure that spinning arms can move freely. Use recommended detergent and rinse aid to get the best results. Proper loading helps prevent damage and ensures clean dishes every time.
Maintenance and Troubleshooting Tips
Proper maintenance and timely troubleshooting are crucial for ensuring your Whirlpool dishwasher operates effectively for years.
Regular Cleaning and Care
To keep your Whirlpool dishwasher in top condition, regular cleaning is essential. Follow these simple tips:
- Clean the Filter: Remove and rinse the dishwasher filter under running water monthly.
- Wipe Down the Interior: Use a damp cloth to clean the interior walls and door seals.
- Use Dishwasher Cleaner: Run a cycle with a dishwasher cleaner every few months to remove buildup.
- Inspect Spray Arms: Make sure the spray arms are free of debris and spinning freely.
- Keep the Exterior Clean: Wipe the dishwasher’s exterior with a soft, damp cloth.
By regularly cleaning your dishwasher, you minimize the risk of repairs and maintain performance.
Identifying Common Issues
Even with regular maintenance, issues can arise. Here’s how to identify some common problems:
- Dishes Not Cleaning Well: Check for blocked spray arms or low water temperature.
- Dishwasher Not Draining: Ensure the drain hose is not kinked and the filter is clear.
- Leaks: Look for loose connections at the water supply line or worn door seals.
- Unusual Noises: Grinding or buzzing can indicate trapped debris or a faulty motor.
Address these issues promptly to prevent further damage and maintain optimal functionality of your dishwasher.

