Proper Dishwasher Loading Techniques
Why isn’t my dishwasher drying? Proper loading can greatly impact your dishwasher’s ability to dry dishes effectively. If you overload it or position items poorly, it might hinder the machine’s performance. Let’s cover the right technique to enhance drying.
Importance of Space between Dishes
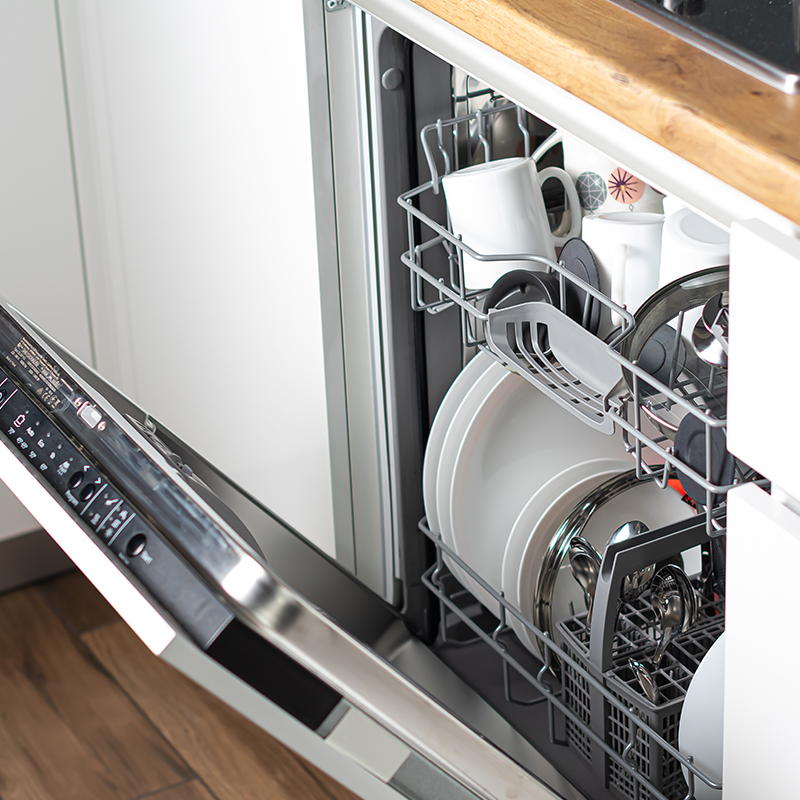
Create gaps between dishes when loading your dishwasher. This allows air to circulate during the dry cycle, aiding in the evaporation of moisture. Avoid piling dishes or nesting utensils as this traps water and leads to spots.
Placement of Plastic Items on Top Rack
Position lightweight plastic items on the top rack. This prevents them from flipping and filling with water. Tuck them between the tines, rather than on them, to ensure better stability and exposure to air for drying.
Dishwasher Cycle Settings
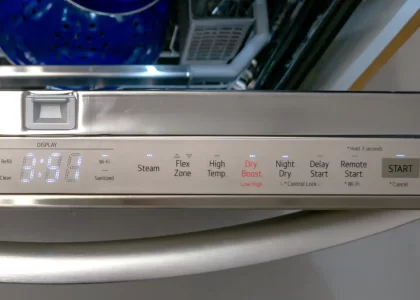
Understanding your dishwasher’s drying process is essential for resolving drying issues. Familiarizing yourself with the cycle settings can increase efficiency and save energy.
The Role of Heating Elements and Condensation in Drying
Two drying methods exist: heating elements and condensation. Older models use a heating element which consumes more energy. Newer machines opt for condensation drying, saving energy and being gentler on plastics.
Heating elements work by warming the air inside the dishwasher. Condensation drying uses the tub’s cooler stainless steel walls. The dishes’ heat causes water to evaporate and condense away.
Adjustments for Eco-Friendly and Efficient Drying
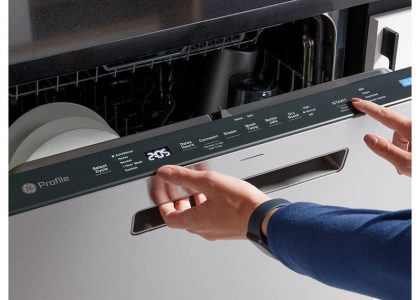
To improve drying, ensure the heated dry option is active if your machine has a heating element. Remember, quick cycles might not include heated drying.
Eco-friendly settings may use less energy but could affect drying efficiency. Familiarize yourself with all your machine’s settings for optimal performance.
The Significance of Rinse Aid
Rinse aid plays a crucial role in the drying process of your dishwasher. It prevents water from forming droplets on your dishes, which can leave spots and slow down drying.
How to Refill and Adjust Rinse Aid Dispenser
Make sure your rinse aid dispenser is full to ensure spotless and dry dishes. Here’s what to do:
- Find the dispenser, often next to the detergent compartment.
- Open the dispenser cap and check the level. If low, pour in rinse aid until full.
- Securely close the cap to prevent spills.
- Adjust the dispenser settings if your dishes aren’t drying well. Increase the amount for better drying.
Cleaning the Rinse Aid Dispenser for Optimal Function
A clogged dispenser hinders the release of rinse aid. To clean it:
- Open the dispenser and remove any gunk inside.
- If there’s leftover rinse aid, try suctioning it out with a baster.
- Place a vinegar-filled bowl on the top rack and run the hottest cycle without detergent.
- Leave the dispenser cap off during this cycle to clean out any residues.
After these steps, your rinse aid dispenser should function well, helping your dishwasher dry dishes effectively.
Enhancing Drying Performance
To get dishes drier after a dishwasher cycle, follow these tips. They’ll improve airflow and heat retention, which are key to effective drying.
Running Hot Water before Starting the Dishwasher
Begin by running hot water at the kitchen tap. This makes sure the dishwasher gets hot water from the start. Hotter water helps with better cleaning and more effective drying. Do this just before you start the dishwasher.
The Correct Way to Arrange Dishes
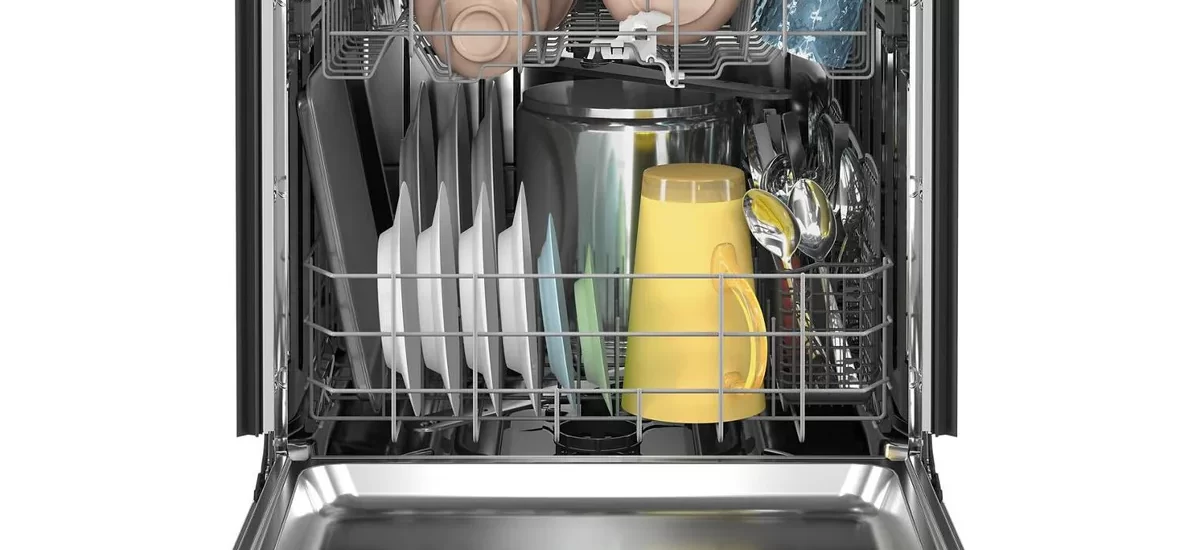
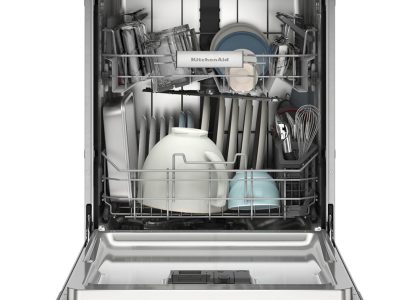
Place cups, bowls, and glasses upside down on the top rack. This stops water from pooling in them. Set plates and bigger items on the bottom rack. Face them inward towards the spray arms. This ensures an even wash and thorough drying. Mix up utensils in the cutlery basket to prevent them from sticking together.
Unloading Strategy to Avoid Extra Moisture
Unloading the dishwasher properly also helps in keeping dishes dry. Always start with the bottom rack to avoid water dripping from the top down. After the cycle, crack the door open for a while. Let the steam out and give dishes time to cool down. This reduces the remaining moisture on them.
Checking for Blocked Vents
When investigating issues with dishwashers not drying properly, another area to inspect is the appliance’s vents. These are crucial for letting out steam and facilitating the drying process.
Identifying the Location of the Vent
Dishwasher vents may vary in location. Typically found on the door, they can also be inside, towards the top or bottom. Releasing steam effectively, they prevent dampness post-cycle. To ensure proper functionality, determine where your dishwasher’s vent is. Your user manual can guide you, if necessary.
Cleaning and Maintenance Tips for Dishwasher Vents
Regular cleaning avoids blockages that trap moisture, hampering dish drying. Here are some maintenance tips:
- Check the vent regularly for obstructions like food particles and debris.
- Carefully remove the vent cover, if possible, and clean it with a soft brush or cloth.
- For vents with fans, ensure the fan is functioning properly and replace the motor if it fails.
- Run an empty cycle with a bowl of vinegar on the top rack to naturally clean the dishwasher’s interior, including the vent area.
By maintaining clean vents, you aid your dishwasher in effectively drying dishes and optimizing its performance.
Troubleshooting the Heating Element
If dishes remain damp, the heating element may need checking. Here’s how to inspect and test it.
How to Inspect and Test the Dishwasher’s Heating Element
First, to inspect the heating element, turn off the dishwasher’s power. You can unplug it or switch off the breaker. Open the dishwasher and look at the bottom. Check the round element for any signs of damage like breaks or corrosion. If it appears damaged, you will likely need a professional to replace it.
For a deeper test, you’ll need a multitester, also known as a multimeter. With the dishwasher still powered off, remove the kick plate at the bottom. You will see the heating element’s terminals inside. They have wires attached with connectors. Carefully remove these connectors.
Next, set your multitester to the ohms setting, marked with an omega symbol (Ω). Touch the probes to the heating element’s terminals. A working element usually shows a reading between 15 and 30 ohms. If the needle doesn’t move, or the reading is outside this range, the element is faulty.
With these checks, you can affirm if the dishwasher’s heating element is the problem. If it’s not functioning, it’s best to call in a technician for repair or replacement. Using these steps helps pinpoint why your dishwasher isn’t drying your dishes.
High-Limit Thermostat Functionality
Your dishwasher’s high-limit thermostat is crucial for safety. It stops the heating element from getting too hot.
Testing and Replacing the High-Limit Thermostat
To check this component, start by turning off the dishwasher. Unplug it or flip off the breaker. Next, remove the bottom panel. Find the silver, coin-sized thermostat. Disconnect the two wires attached to it. Use a multimeter on the lowest ohm setting to test it.
For a room temperature thermostat, expect infinite resistance on the multimeter. Heat the thermostat with a bulb or heater. The multimeter should now read zero. If it doesn’t, the thermostat might be faulty and need replacing.
Replacing a high-limit thermostat is a task for a professional. If you suspect yours is the issue, call an expert for safe and proper repair.

