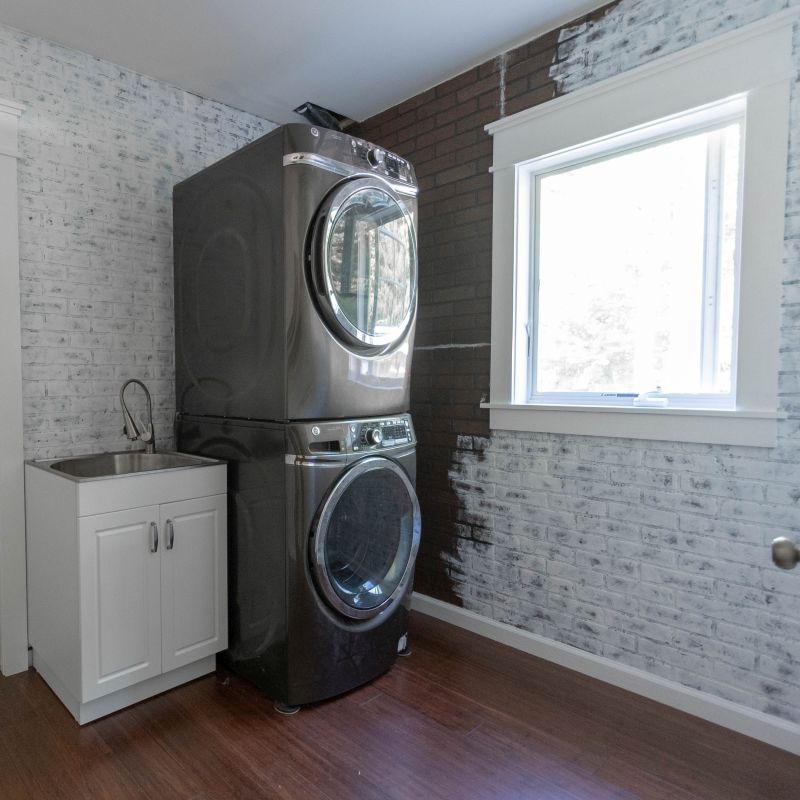
Preparing for Washer and Dryer Installation
How to install washer and dryer hookups in apartment? When introducing a washer and dryer, preparation is key. The first step is proper planning to avoid issues later.
Measuring the Space and Access
Begin by measuring the area where you plan to install the appliances. Ensure enough room for both the washer and dryer. Account for doors and drawers that may open into the space. Check that the location is within reaching distance of water, drain lines, and electrical outlets.
Inspecting the Flooring and Stability
Inspect your floors before installation. The surface must be firm and level for the appliances to function well. Washers and dryers can create vibrations that may damage unstable floors. Correct any flooring flaws before moving ahead with installation.
Understanding Electrical Requirements for Washer and Dryer
Identifying the Right Outlets and Voltage
When you install a washer and dryer, the correct power source is crucial. For most washers, you’ll need a standard 120-volt outlet. This is a typical household outlet you would use for other appliances. A dryer, however, often requires a 240-volt outlet. The higher voltage matches the dryer’s energy needs. Before installation, check that you have these outlets available. If not, you’ll need an electrician to install them. Keep in mind each appliance’s specifics. Your dryer’s manual will confirm the exact power requirements. Gas dryers will have different needs, usually requiring a 120-volt outlet and a gas hookup.
Ground Fault Protection for Safe Installation
Safety during installation is not just about following a manual. For areas prone to wetness, such as laundry rooms, ground fault circuit interrupter (GFCI) outlets are essential. They prevent electric shock by quickly cutting off power if they detect a fault. You might recognize these outlets by their test and reset buttons. If your laundry area lacks GFCI outlets, have an electrician install them. It’s a step that safeguards both you and your appliances against electrical problems. Always make sure that your washer is connected to a GFCI outlet. Doing so keeps you safe and avoids potential damage to your new machines.
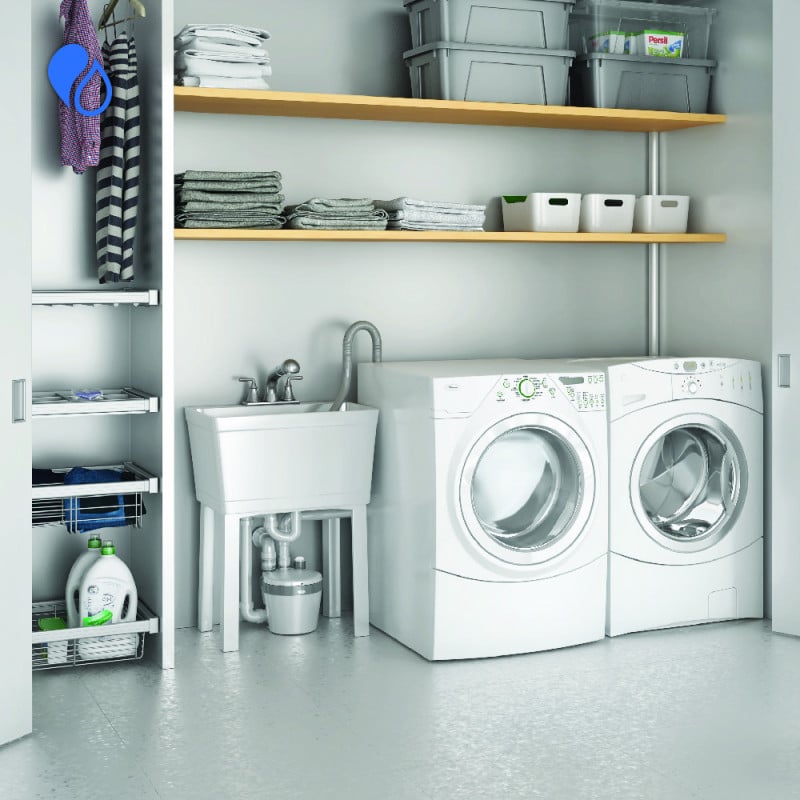
Water Supply and Drainage Setup
When installing a washer and dryer, setting up water supply and drainage is essential.
Locating Water Heater Connections
Start by identifying the water heater connections in your apartment. Check for the closest hot and cold water lines. You’ll want your washer near these lines for easy hookup.
Installing Shutoff Valves and Standpipes
Next, install shutoff valves on the hot and cold water lines. This allows you to control water flow. Make sure the valves are easy to reach. You’ll also need a standpipe for the washer’s drainage. This pipe ensures used water drains away properly.
Necessary Steps for Washer Hookups Installation
Choosing Washer Outlet Box Location
Select a spot between studs, near the washing area, for your washer outlet box. It should be mounted 42 to 48 inches above the floor for ease of access. This setup will house the faucets and connect to the water supply, ensuring a neat look and easy reach.
Cutting and Preparing Wall Space
Once you’ve chosen the location, measure and cut a space in the drywall for the outlet box. Cut out a section large enough to fit the box snugly. Be precise with your measurements to ensure a proper fit and avoid having to make later adjustments.
Securing the Outlet Box and Connecting Water Lines
Secure the outlet box by nailing it to the studs. Next, connect the hot and cold water lines. Use the provided instructions to properly attach the water supply hoses. Ensure a tight connection to prevent leaks. Once connected, the washer is ready for use.
Installing Dryer Hookups and Ventilation
After your washer is set up, it’s time to install the dryer. Proper ventilation is key for a safe and efficient dryer.
Determining Vent Path and Creating Exhaust Outlet
First, decide where your dryer vent will run. The shorter and straighter the path, the better. This helps reduce lint buildup and increases efficiency. Then, create a hole for the exhaust. Use the right tools to make a 4-inch diameter hole in an exterior wall.
Electric vs. Gas Dryers: Installation Differences
Electric dryers need a 240-volt outlet. Gas dryers need a 120-volt outlet and a gas hookup. Always let professionals handle gas connections. It’s safer and ensures proper installation.
Securing and Sealing the Ventilation System
Finally, connect your dryer to the vent. Use metal ducts for better safety and durability. Seal the vent ducts well to prevent lint escape and increase efficiency. Make sure there is no kink in the duct when you push the dryer back against the wall.
Dealing with Absence of Pre-existing Hookups
When your apartment lacks hookups for a washer and dryer, it can seem daunting. However, with the right approach, this situation is manageable. While installing new hookups is complex, understanding the process can help you prepare.
Professional Installation for Complex Situations
In cases with no existing connections, hiring professionals is crucial. Skilled technicians ensure safety and compliance with local codes. They have the experience to handle complex installations, including adjustments to plumbing and electrical systems. For gas dryers, professional installation is a must due to the dangers of working with gas lines.
A professional can assess your space and recommend the best setup. They can also foresee potential issues and address them promptly. Their expertise saves time and helps avoid costly mistakes.
Steps to Install New Plumbing and Electrical Systems
To install new hookups, several key steps are involved:
- Planning: Determine where to place the washer and dryer and the route for water and electrical lines.
- Breaking Ground: Cut through walls and floors to lay new pipes and wires.
- Installing Systems: Set up the plumbing and electrical systems needed for the appliances.
- Testing: Check all connections for leaks and ensure the electrical system functions correctly.
- Finishing Touches: Seal all openings and restore finishes to their original state.
Remember, installation involves more than just physical labor. It includes understanding building codes and ensuring your setup meets all required standards. For a job this complex, relying on professionals is the safer and more reliable choice.
Post-Installation Checklist
After installing your washer and dryer, a checklist assures everything works fine. This final review prevents future problems.
Ensuring Proper Function and Leak Prevention
Once you’ve completed hookup installation, run tests. Check all water connections while the washer fills. Look for any leaks around the hoses and valves. Ensure the washer drains correctly during a cycle. For electric dryers, confirm that it heats up and tumbles. For gas dryers, check for heat production without gas smell.
It’s important to regularly inspect hoses and connections. Consistent checks help avoid water damage.
Positioning and Securing Appliances
Align your washer and dryer correctly with enough clearance. Ensure there’s space for air circulation and easy access. Level the appliances to prevent excess vibration. Secure them firmly to stop movement during use. Use anti-vibration pads under washer feet if needed.
Always refer to your appliance manuals for specific guidelines. By finishing these steps, you safeguard your investment.
Troubleshooting Common Issues
How to install washer and dryer hookups in apartment? When you’ve installed your washer and dryer, you might face some issues. Let’s troubleshoot these common problems.
Addressing Washer Imbalance
A washer should sit on a level, firm surface. If it shakes or moves during the spin cycle, it’s likely unbalanced. To fix this:
- Pause the wash and redistribute clothes evenly.
- Adjust the washer’s feet until it’s level.
- Place a level on top of the washer to check balance.
- Tighten the lock nuts on the washer feet when it’s level.
- Use anti-vibration pads to reduce movement.
- Check for loose flooring under the machine.
Solving Dryer Heating Problems
If your dryer isn’t warming up, you can do a few checks.
- Confirm the dryer is plugged in properly.
- Reset breakers or replace blown fuses if needed.
- Check the lint filter and exhaust vent for blockages.
- Ensure the dryer’s settings are correct.
- If it’s a gas dryer, verify the gas supply is on.
- For persisting issues, consult a professional service technician.
Consistent upkeep can prevent these issues, but sometimes expert help is needed.